Big Flavors from a Tiny Kitchen is dedicated to helping you (yes, you!) find your next favorite recipe. Ashley’s goal is to encourage you to cook delicious food at home no matter your skill level. Together, we will make mealtime more enjoyable and less stressful.
This site will become your go-to resource for delicious recipes, tutorials, classes, and more. Read more about Big Flavors here.
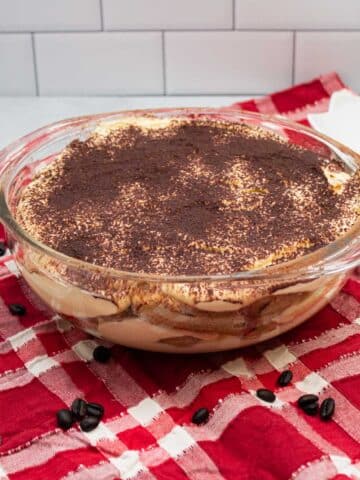
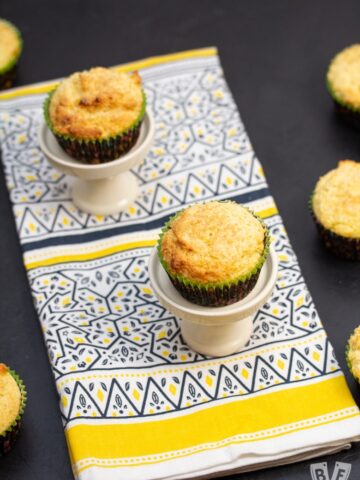
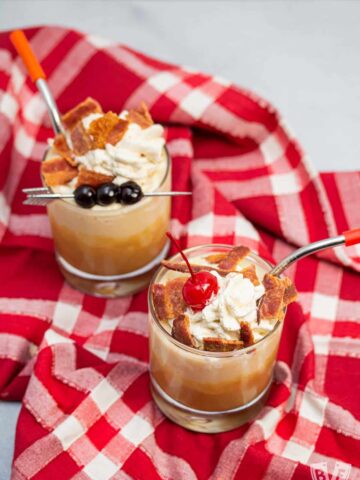
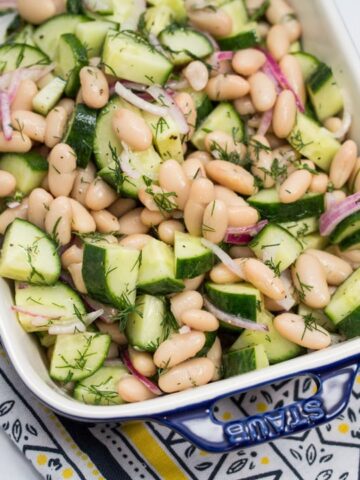
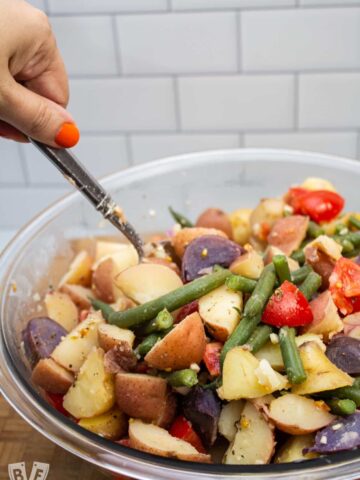
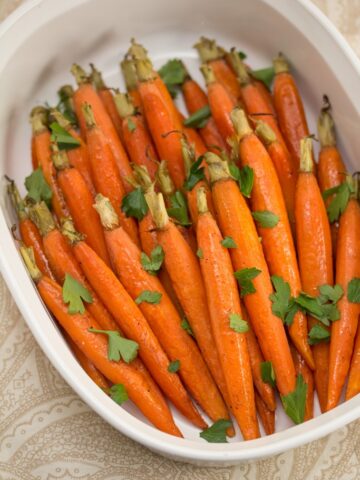
Currently in Season: Popular Spring Recipes
The weather is warming up and these spring recipes are definitely on the menu!
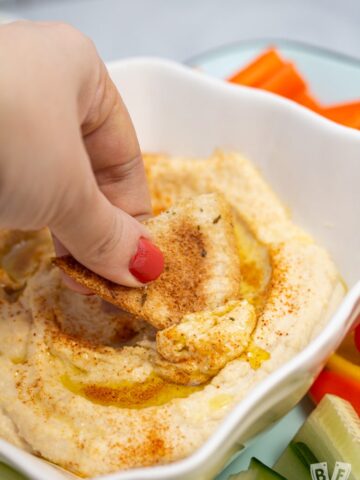
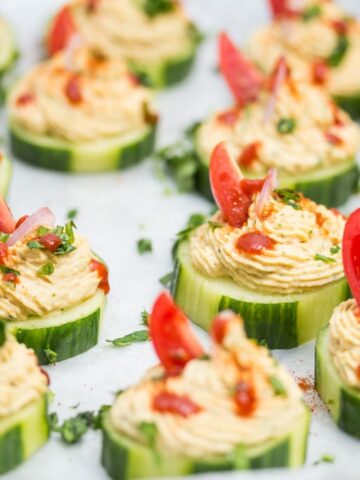
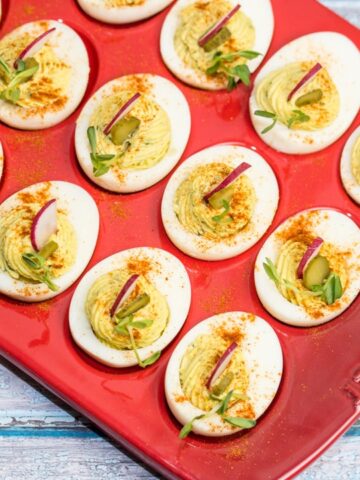

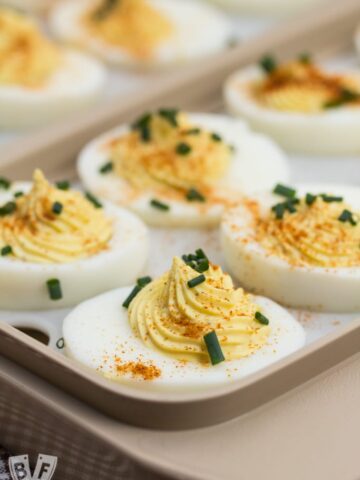
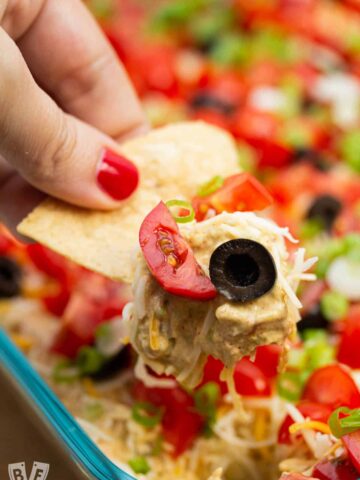
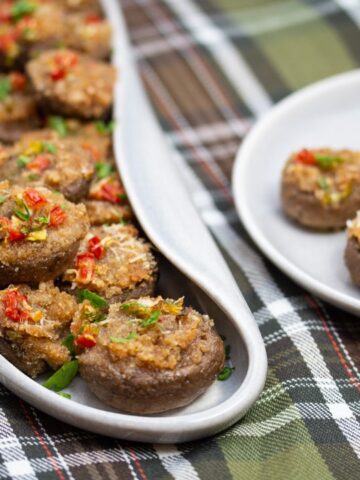
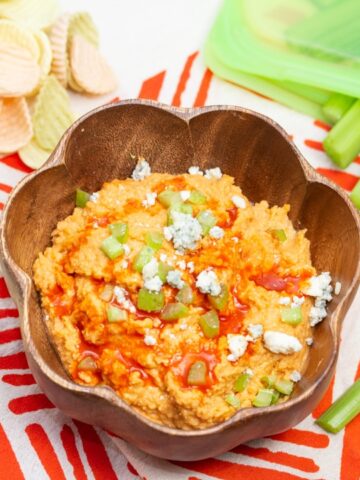
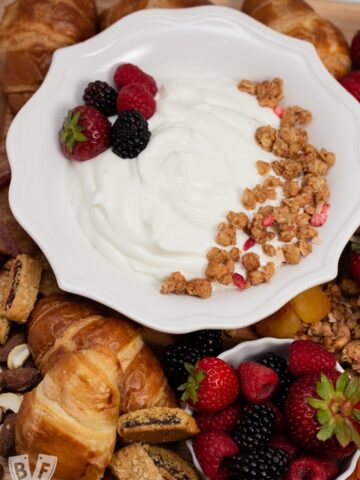
Appetizer Recipes
Feeling snacky? Find bites, snacks, dips, and more to kick off any dinner party, potluck, or game day celebration.
See more appetizer recipes →
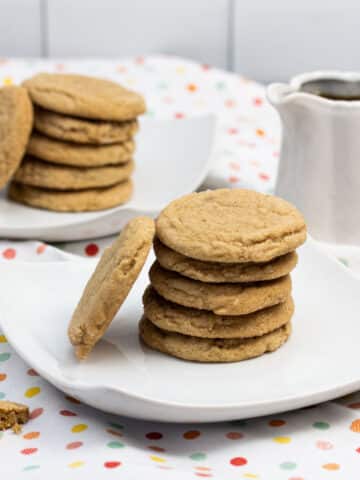
What's New?
These are the latest posts and freshest recipes to come out of my tiny kitchen.
See more new and recently updated posts→
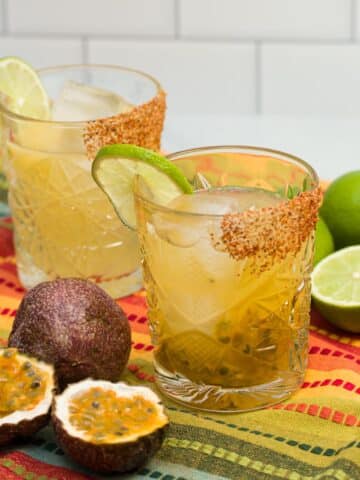
Trending Recipes
These are some of the most popular recipes that Big Flavors readers have been loving lately.
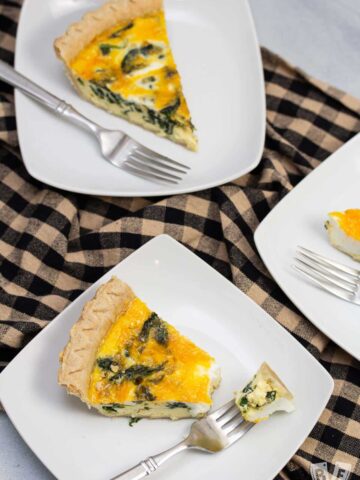
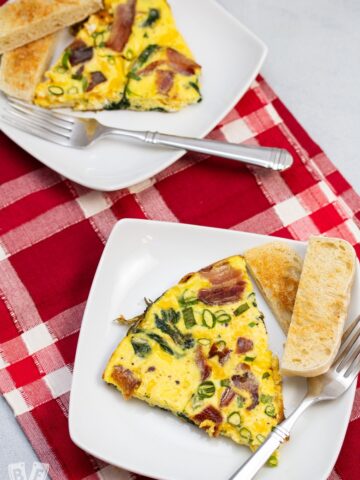
Breakfast and Brunch Recipes
Looking for some delicious ways to start the day? These recipes are perfect for breakfast, brunch, or my family’s favorite “breakfast for dinner” nights.


See more breakfast and brunch recipes →
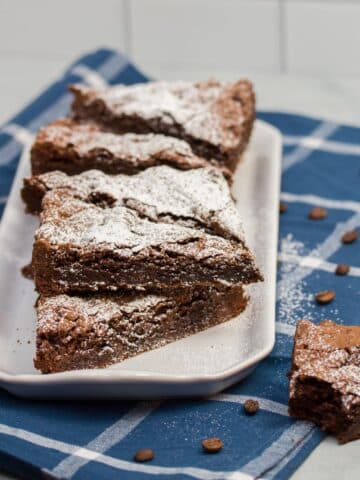
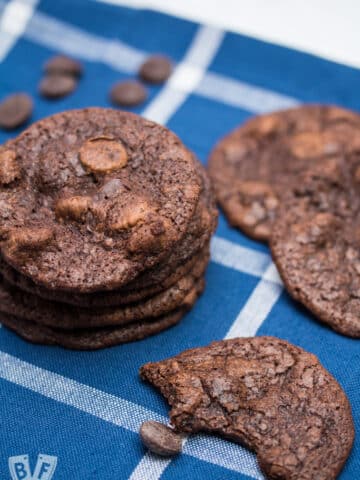
Dessert Recipes
Satisfy your sweet tooth with a delicious dessert. Chocolate treats, cookies, pies, cakes, holiday sweets, and classic family favorites... there's something for everyone here!


See more dessert recipes →

About Ashley
Hi, I'm Ashley and I’ve been writing about food & recipes here at Big Flavors from a Tiny Kitchen since 2006. I want to help you (yes, you!) gain confidence in the kitchen so you are excited to cook at home for yourself and your loved ones.
Side Dish Recipes
Need recipes to serve alongside the main event? These side dish recipes have you covered!
See more side dish recipes →
Recently Updated Posts
Big Flavors from a Tiny Kitchen has been around since 2006, so there are a lot of recipes, tips, tutorials, and more to dig through. I'm constantly going back and improving older posts, re-testing recipes, and more to make sure that you have success in your kitchen! You can find my most recently updated posts here.

See more new and recently updated posts→